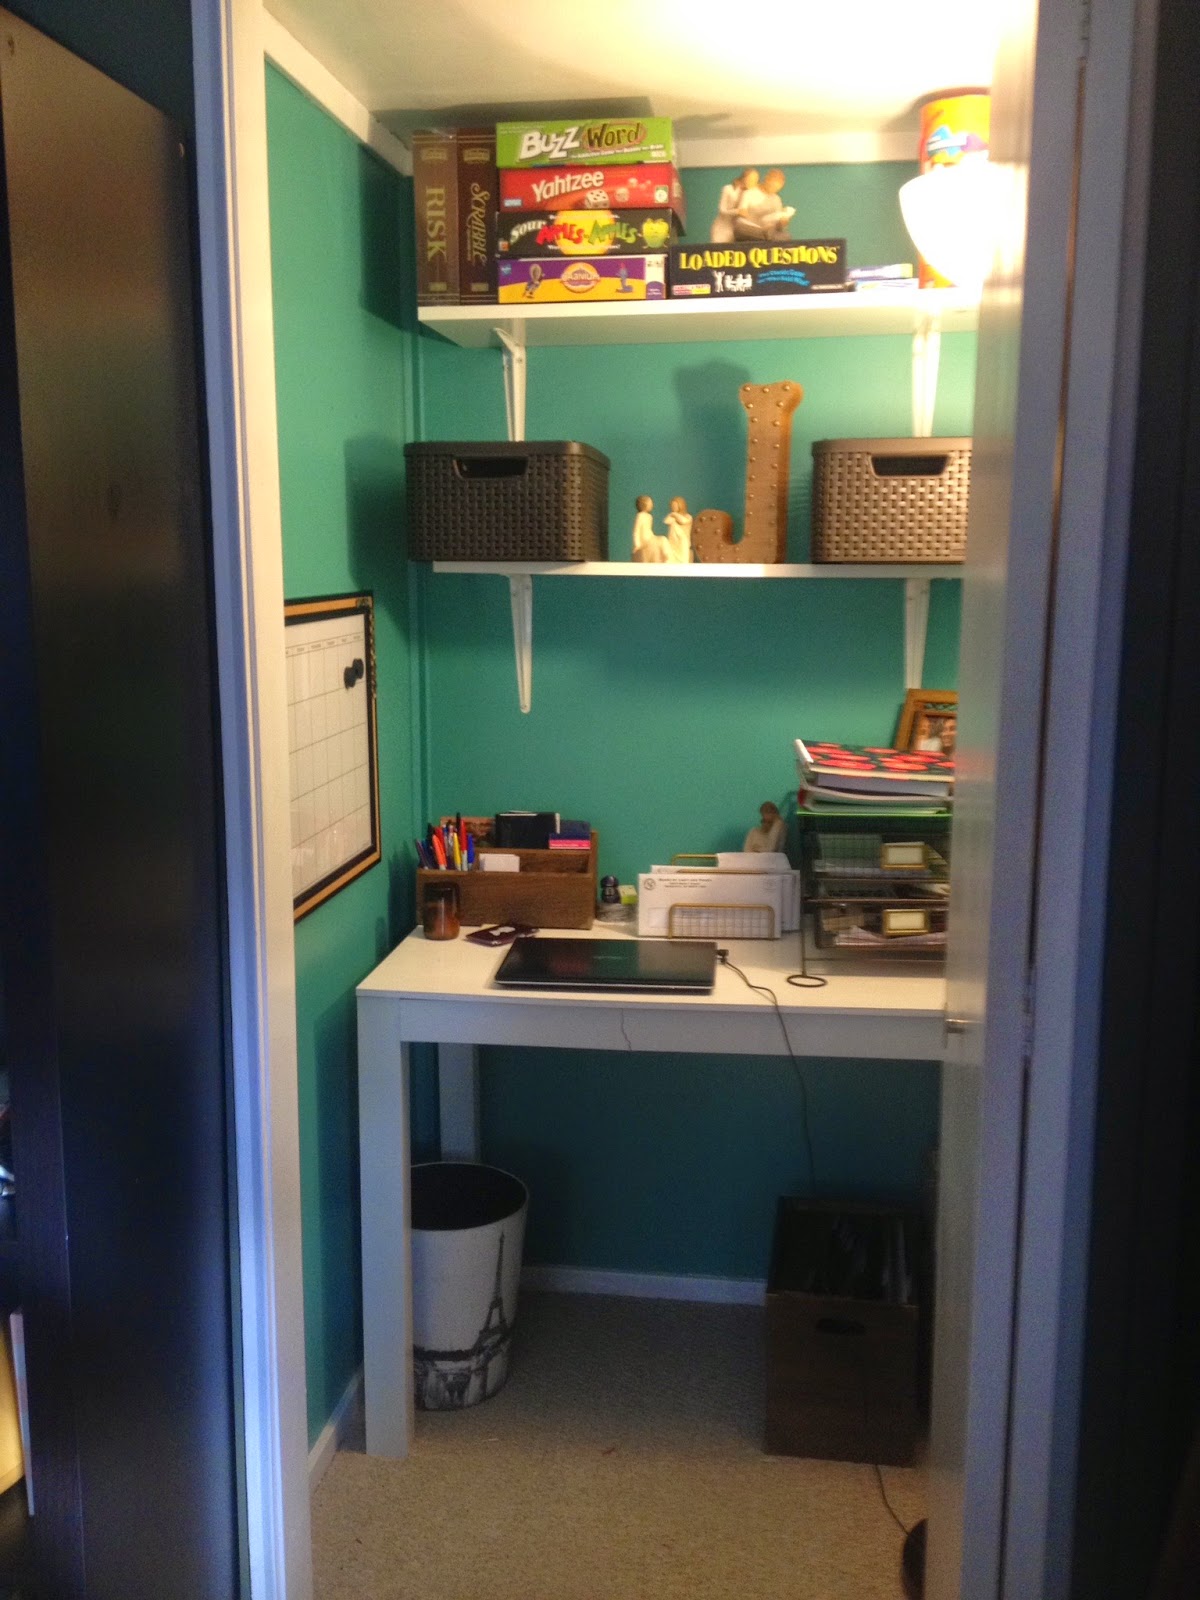
I started out with a closet that was collecting crap.
Ya know, the usual: luggage, paper shredder, board games, and everything else still in boxes from our move that I didn't feel like unpacking quite yet. It took me a good hour to find new homes for all of this move everything to the garage. Once it was empty I could begin.
Step 1: Pick a paint color.
Here's the trick: you have to pick a color that is going to keep you alive and awake. When you have a cloffice you are basically staring straight into closet. Now the rest of my upstairs is neutral. Forest green, deep tan, and white trim. I thought about picking a neutral color to coincide with my living room scheme. Seriously, though, who wants to stare at a neutral color??!?! Also I lucked out on the chance that my husband (the more "neutral" of the 2 of us) was traveling for work the entire week. I didn't have to consult anyone besides myself! My options were endless!! Off to Lowe's!!! Upon arrival I was quite overwhelmed but I was scanning some paint swatches and the same color kept screaming "PICK ME! PICK ME!!!". It was just meant to be. Enter turquoise. Or aqua. Whatever you want to call it. I loved it.
Step 2: Paint during nap time.
Yeah don't even bother trying to start this while the kid(s) are awake. Absolutely not. I painted one coat during nap time and shut the door. Wrapped it up with a second coat that night after bedtime and painted the ceiling and trim a bright white that I had leftover from the nursery. Good lord it looks fantastic.
Step 3: Measure everything. Twice. Three times.
Because if you don't you will realize too late that your Ikea shelves from the past apartment actually don't fit in the closet and you actually do need to run to Menards and get shelving.
Step 4: Get generic shelves.
They had the cute shelves that would've cost me almost $80. I was freaking out and thinking I couldn't have shelves anymore when a really nice Menards guy helped me find the boring shelves that are perfect for closets and knocked my cost down to less than $30. My husband really likes this guy now.
Step 5: Install shelves with a level.
I don't own one. My shelves are crooked. I don't want to talk about it.
Step 6: Minimalism is your motto.
When you have such a small space to work with, keep it simple. I used the top shelf for board games and the second shelf for baskets of crafts and paper work. I also found (hello, Target) an adorable filing cabinet made of wood!! It's slim and keep everything super organized for me!
Step 7: Step back and admire!!!! This really was a simple project. A few more trips than I had planned but ended up being well worth it!!!
This was a really fun project! Let me know what you think!!
My husband's reaction? "Oh... that's babe.... I'm just really glad that color is in a SMALL space!" haha I love that man.
xoxo,
Summer


That looks terrific!
ReplyDeleteBut you have to call that color exactly what it says it is. 'a day at the jewelers'. How can you not buy a color named that?